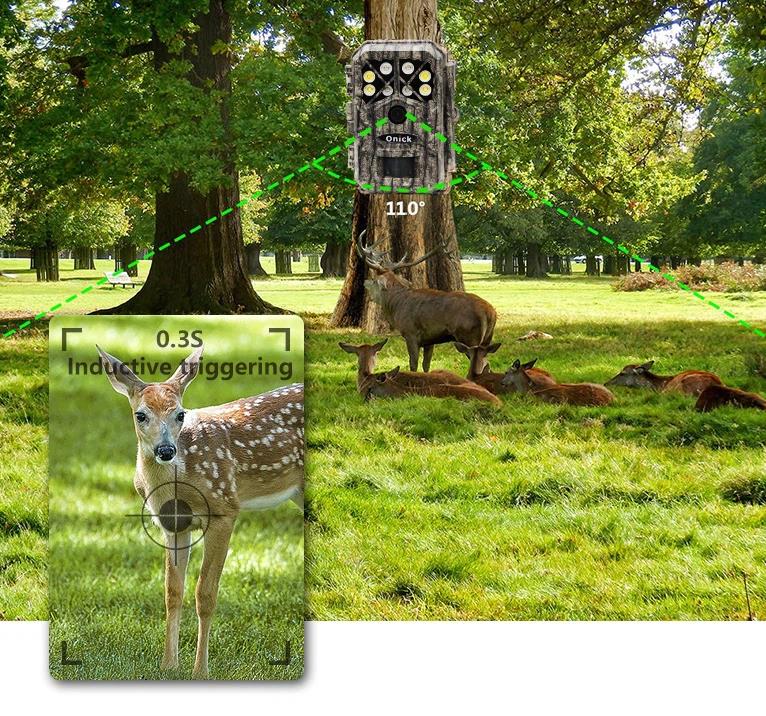
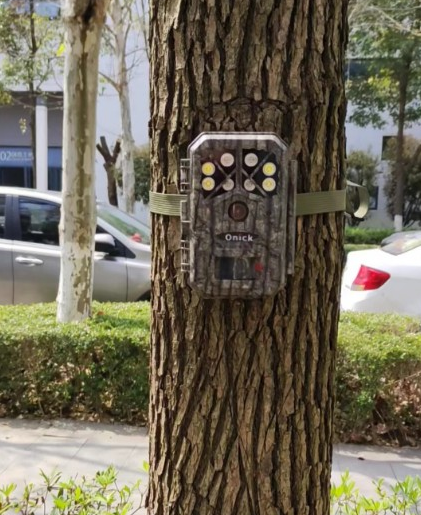
Infrared cameras are devices that can automatically or timedly shoot animals or people passing in front of the camera using infrared/thermal sensing systems when there is no one on site. They are mainly composed of infrared/thermal sensors, shooting systems, fill light systems, power supply systems, shells and other devices. With the promotion of infrared camera technology in my country in recent years, infrared camera technology has been increasingly used in species surveys and observations. Today, let's learn how to install infrared cameras in the wild? Where do we usually need to install them? How high is the installation height?

First, before setting up infrared cameras, it is necessary to collect geographic information and natural profiles of the observation area before setting up infrared cameras, including topography, climate, hydrology, soil type, habitat type and socio-economic conditions.
Secondly, plan the layout of the observation plots and use geographic information system (GIS) tools to set up points and establish a standard grid covering the entire observation area. The grid generally uses a 1kmX1km network. The specific situation can adopt the corresponding grid scale according to actual needs. Smaller grids can be used for small area and high-density observations. According to the actual situation, there are no less than 20 grids and camera sites. Special areas can be determined according to the actual situation. Each grid is preset with no less than 1 infrared camera, and the distance between cameras in different grids is no less than 500M.

Finally, the layout and installation of the camera
1. Determine the path of the camera layout according to the rivers, roads (patrol routes) or other terrain features in the observation plot.
2. Find places where animals may often appear around the preset points, such as animal trails, water sources, caves, sleeping areas, footprints/claw marks, tail drag marks, tree trunk rubbing areas, and defecation areas.
3. There should be a relatively open space in front of the camera to avoid direct sunlight on the camera lens or objects that can emit light.
4. The camera should be fixed on a tree trunk, stake or rock. The height can be determined according to the size of the target animal and the field of view of the placement location. It is usually 50-100cm from the ground (when the ground is horizontal). The camera lens is at an acute angle to the direction of the animal trail.
5. After the installation is completed, a shooting test should be carried out to detect whether the camera is working properly.
6. After installing the camera and replacing the battery, take a "whiteboard photo" with the camera site information (plot number, camera number, installer, longitude and latitude, date and time, etc.) to ensure that the reference information (location, etc.) of the photo is not lost.
7. After the camera is installed, the camera installation location, longitude, latitude, altitude, surrounding vegetation type, human disturbance type and other habitat information should be recorded in detail.
Summary: It is recommended that each observation sample area should adhere to long-term observation, and observation data of different seasons should be included each year. If there are special circumstances, the observation time of each camera site should be no less than 6 months per year.


