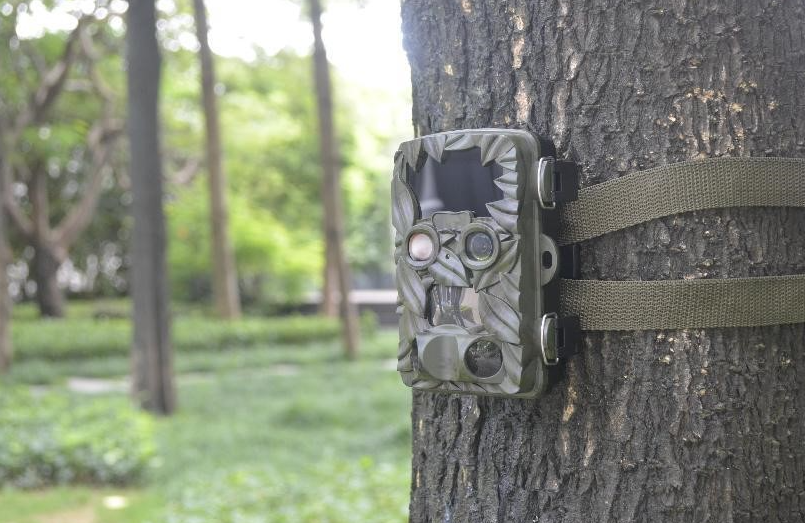
When choosing an open area, be careful to clear the debris and small shrubs, wormwood and other obstructions in front of the lens, and try not to point the lens at easily shaking spear grass, leaves, bamboo forests, etc., so as to avoid the wind blowing the branches and leaves to shake and change the infrared temperature sensor's perception of temperature changes. These factors can easily trigger the infrared camera to shoot by mistake, causing the camera to run out of power for continuous shooting, resulting in unnecessary waste of resources. Once the strong wind continues, the bamboo forest and branches and leaves will shake and trigger the camera continuously, resulting in a large number of worthless photos. The camera placement position can be determined according to the object being photographed.
Based on the food marks, footprints, rubbing marks, lying marks, feces and specific ecological environment left by animals, the camera should be placed as much as possible in the animal feeding, resting places and animal activity channels. When choosing to place it on the animal channel, the camera lens should be placed along the channel direction as much as possible to extend the time that wild animals pass in front of the camera lens. Take more photos to increase our identification of population individuals. According to needs, 1-3 continuous shots can be set, and 1-2 infrared cameras can be added at different angles and positions. The camera and video functions of different cameras are combined.
The parameter settings of the equipment must be set according to the project requirements, from the equipment shell to the camera parameters. Pay special attention to the common low-level mistakes: time settings, be sure to separate AM and PM. After confirming that the settings are correct, place it to reduce invalid work and the workload of internal data analysis. Carefully check whether the timestamp setting is turned on to avoid no time display on the photos taken.
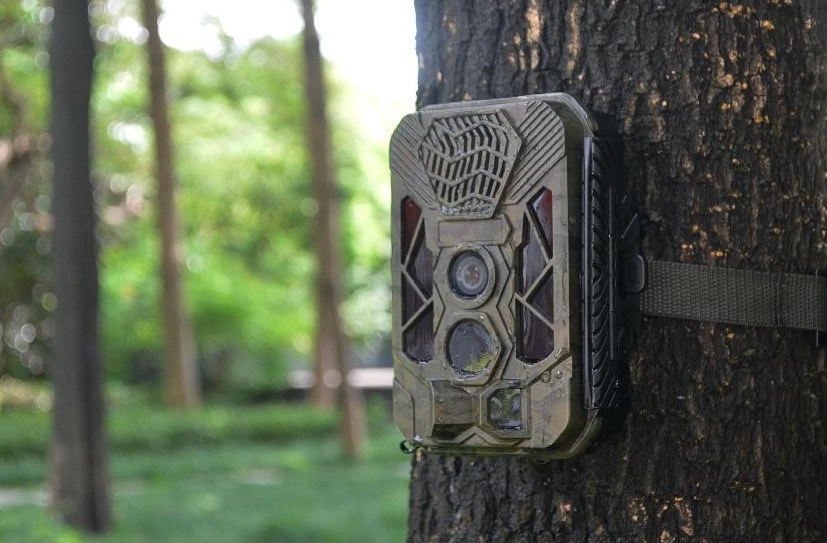
The camera should be placed in a hidden location to avoid direct sunlight. When placing the equipment, pay attention to avoid sunlight shining on the equipment and the shadow of leaves projected on the equipment.
After the equipment is debugged and installed, take a work reference comparison photo as required. After completing the operation, the object used for reference should be removed in front of the camera. You can also walk in front of the camera to see if the angle of the photo is in line with the needs.